Activate (Claim) Your NetID
Activate (Claim) Your NetID
After confirming your intent and your enrollment is processed for a NetMath course, you will receive a ‘Welcome email’ containing your Activation Code and a University Identification Number (UIN). You will need to activate and claim your NetID and set your NetID password, (visual instructions to activate and claim your netID). During the process of claiming your netID you will set up your University (@illinois.edu) email address. Your netID will serve as your username for your Illinois email (example: username@illinois.edu) and other additional University websites, including Enterprise ID, billing, transcript records and course materials.
All undergraduate students, graduate/professional students, faculty, and staff receive an Exchange (Outlook Online) email account. Or use the Outlook App to connect email on a mobile device. If you have questions, contact netmath@illinois.edu.
Note: After activating your netID there is a period of time before your email account is setup by Tech Services. This time-period can range from 4 - 24 hours (longer on weekends or holidays). If you still have trouble activating your email account after this time period please contact us at: tech-staff@netmath.illinois.edu.
2FA Enrollment and Setup
2FA - Frequently asked questions (FAQ)
Commonly asked questions regarding 2FA.
2FA - How to Use Duo
Getting Started with 2FA Enrollment.
2FA - How to enroll in 2-Factor Authentication from off campus
Step by Step guide on how to enroll in 2-Factor Authentication from off campus.
2FA - How to set default device & automatic authentication method:
Step by Step guide on how to set your default device and automatic authentication method.
A small portable device, called a hardware token, can be obtained to allow you to authenticate through 2FA. It works when you go to a page login, you click Send a Passcode, the code is sent to the token, and then you enter a 6 number code from the token to authenticate the login. More information about a hardware token.
Note: Using a temporary pass code is intended for situations where you do not have access to your authentication device, or when you are in a testing center. It is not intended for everyday logins. More information about a temporary passcode. Obtain a temporary passcode.
I can't access my @illinois.edu email account.
To set up your @illinois.edu school email please follow these steps:
1. Claim Your NetID - To claim your NetID and set your netID password (visual instructions).
Your netID will serve as your username for your Enterprise ID and other additional University websites, including billing, transcript records and course materials. (Your UIN and your Activation Code will be contained in the NetMath Welcome Email' that is sent once your course registration has been completed.)
2. Activate @Illinois.edu Email account - Once you claim your netID your @illinois.edu email account will be set up. Activate your University Email address. We prefer that you use your campus email address to communicate with us. Your billing information will only be sent to this address.
If you continue to experience trouble claiming your netID or activating your @illinois.edu Email account, email us at tech-staff@netmath.illinois.edu. You may also directly contact Tech Services at: 217-244-7000 or consult@illinois.edu. Tech Services manages all University NetID's and Email accounts, and they can assist you in making any changes needed to your account.
Why am I not receiving email at my @illinois.edu account?
Why am I not receiving email at my @illinois.edu account?
Your @illinois.edu email may be set up to be forwarded to your personal email account. If this is the case you should be receiving your messages in your personal account (your personal account may be routing your messages to a spam folder). If you wish to change the Email forwarding setting. (It is strongly recommended that students use their university accounts instead of forwarding to a personal email address.) Students can ensure their university email is being delivered to the correct address.
**Please note: Once email forwarding changes have been applied, it may take up to four hours to take full effect.
For assistance in making this change to your account please contact Tech Services directly at: 217-244-7000 or consult@illinois.edu
Instructions for Using Box
What is Box.com?
The University of Illinois has partnered with Box.com to provide faculty and students an easy way to store and share files in the cloud. In NetMath, we primarily use Box.com to communicate assignment and exam feedback to students, usually in the form of scanned PDF files.
We recommend that you set up your U of I Box.com account soon after you claim your NetID.
How do I set up my Box.com account?
Follow the steps below.
or at:
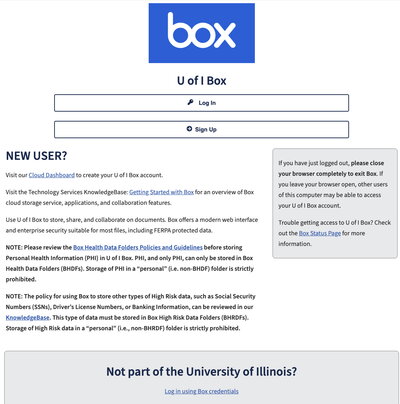
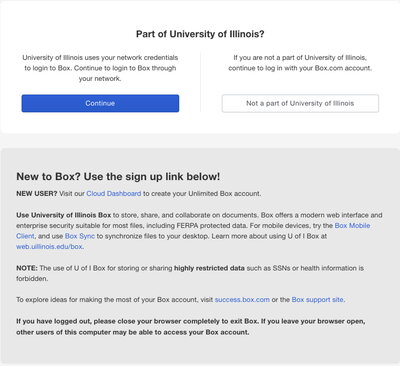
- Login to the U of I Box system.
- click "Cloud Dashboard" under "New User".
- You may be redirected to a login screen. Select University of Illinois at Urbana-Champaign, and then use your NetID and AD password to log in.
- Once you log in you can enable your Box account for the cloud application by simply pressing the "On" button.
That's it! Once you complete these steps, you'll then be able to view your Box.com folders and files.
What if there's nothing in my Box.com folder?
Don't worry - you'll probably sign up for your Box.com account before we get a chance to share folders with you.
U of I Box Accounts, Personal and Enterprise Account Conflict (Invalid Credentials error)
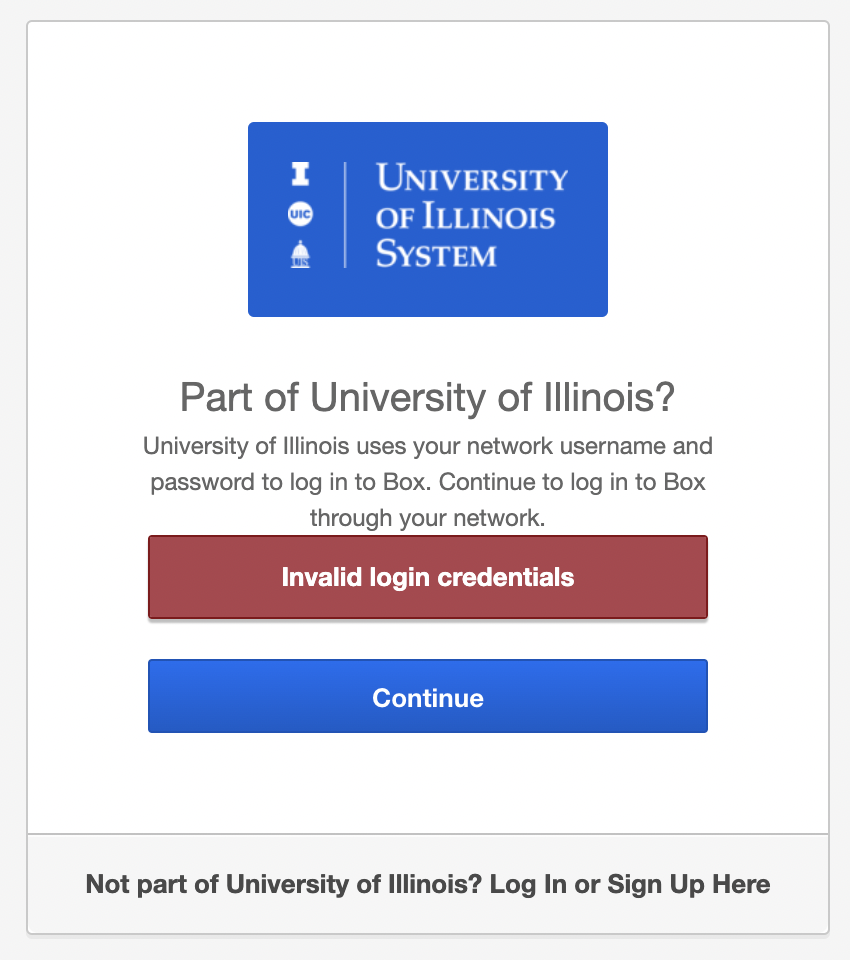
If you cannot login to U of I Box using your NetID and password, your illinois.edu email address may be associated with an unmanaged, personal account.
An unmanaged account must be accessed with a Box-specific password. You can regain access to an unmanaged, personal Box account using the password reset form.
You may request your account be joined to the enterprise by contacting Tech Services or you can do it yourself if your personal account is still active:
- Sign into your Box account.
- Click your name/picture in the top right corner.
- Click "Account settings" from the pulldown menu.
- From the "Account" tab, scroll down to "Login and Email Addresses"
- Click "Link Email"
- Add a different email address and click "Save" (You might need to make it the primary before you can remove the @illinois.edu address).
This will free up your Illinois e-mail so that you can turn on your UIUC Box account.
Your managed, enterprise account will have unlimited online storage quota and requires your NetID and password to authenticate.
What if I have trouble setting up my Box.com folder?
Box.com is supported by Tech Services or contact them by phone at: 217-244-7000
NetMath System Requirements for taking Online Exams
This is everything you will need to begin testing with ProctorU. Most ProctorU exams require the Guardian Browser. We recommend using our test-it-out feature to check the computer you will be using on exam day.
When testing with the ProctorU Platform, you will need a computer that fulfills the following system requirements.
| Technology | Minimum Requirements |
|---|---|
| Operating System | Windows 10 or later Mac OS 11.0 or later All recent compatible versions of ChromeOS (Extension workflow only) |
| Browser (extension workflow only) | Chrome |
| Connectivity | 3 Mbps (3072 Kbps) Upload & Download Speed (mobile hotspots and tethering are discouraged) |
| Webcam | 640x480 resolution |
| Microphone | All microphones other than those built into headphones are permitted. |
| Speakers | Built-in or external speakers are required. |
| RAM Capacity | 8GB |
| CPU | 4 cores at 2.4ghz |
| Monitor Resolution | 1366x768 |
| Ports | UDP/TCP 80 UDP/TCP 443 |
Here are some important caveats and limitations to keep in mind when testing:
- You will not be permitted to test with remote control software running on your computer. Applications like TeamViewer, GoToMyPC, AnyDesk, etc.
- You will only be permitted the use of a single monitor when testing, all others must be disconnected.
- Mobile devices, such as tablets or cell phones, are not supported.
- Headphones are generally not permitted. Check with your testing organization to determine if you are allowed to use headphones.
- You will not be permitted to take your exam from within a virtual machine. You will be asked to reconnect using your host operating system to take your exam.
- You will not be permitted to use Apple Bootcamp to take your exam.
- Unlicensed/inactive versions of Windows and Test Builds/Modes are not permitted.
- External monitors connected to a closed laptop should be set to mirror display and should be connected directly to the computer. Avoid using a docking station.
Submitting a Gradescope Assignment
Submitting a GradeScope Assignment
Gradescope video Submitting PDF Exam / Assignment
Step by step instructions:
Login to Gradescope:
Open Gradescope on your computer, phone, or tablet.
(You have already been Signed Up to use Gradescope, no access code is required using these steps)
- Click ‘Login’ (you can now enter your Illinois.edu email address and password and click ‘Sign In’)
OR for a more secure connection
- Click ‘School Credentials’, then select ‘University of Illinois at Urbana-Champaign NetID’.
- Enter your Illinois.edu email address and password and click ’Sign In’.
- Authenticate your 2FA login. (Instructions for 2F
Finding your exam assignment
- You’ll be taken to your Dashboard as soon as you log in. On your Dashboard, select the course you’d like to view (most students only have one course, and they will be taken directly to their assignment listing).
- On the assignment list, you will be able to see the status of the assignment, the release date, and the due date. Select the assignment you want to view or turn in.
When you click the assignment, a dialog box will appear. The dialog box will bring up the options to download the assignment in PDF format, submit a completed PDF file, or to submit multiple image files. These 3 options are explained in the following instructions.
Downloading and viewing your exam assignments
This dialog box will give you a link to download a PDF version of your assignment questions or instructions. You will click this download link to view the assignment as well.
Variable-length submissions
For the Pre-Check assignment you must either download the integrity statement and sign it or sign your agreement on a blank piece of paper.
You will be allowed to turn in a variable-length submissions for exam/assignments. This means your answers will not always be located in the same place and can span across any length of pages. You’ll have two options for submitting your work:
- Individual images, one or more per question
- One PDF that contains the whole submission
Submitting individual images
- Select your assignment.
- After you select the assignment, you’re turning in, a dialog box will appear. In the dialog box, click Submit Images. You will be taken to a list of questions for your assignment.
- You are again given the option to view/download the assignment. Click on Select image(s) for the first question and choose the images that correspond to the question. Repeat this until you have submitted images for all the questions in the assignment.
- Once you have finished adding images to all questions, click on Submit Assignment to complete the assignment submission.
- Once you have submitted your assignment, you will be given a pop-up box stating, ‘Test Submitted Successfully’, and you will also be notified by email.
- You can now review your submission. If you need to, select the Resubmit button in the bottom right corner of your screen below your submission. Then, repeat Steps 1-5 as many times as needed before the assignment due date. Your instructor or TA will only see your most recent submission when they grade the assignment. All your past submissions are in your Submission History.
Submitting a PDF
Prepare your PDF answer file for submission using a PDF editor app.
- Select your assignment.
- After you select the assignment, you’re turning in, a dialog box will appear. In the dialog box, click Submit PDF.
- You will be given a dialog box that will allow you to choose your answer PDF file. Click on ‘Select PDF’.
- The Assign Questions and Pages screen will now appear. On this screen you will match the question outline number to the pages where your answers reside. First click on the question number then click on the page that contains your answer to that question.
- Once all your answers are matched to the questions, then click submit.
- Once you have submitted your assignment, you will be given a pop-up box stating, ‘Test Submitted Successfully’, and you will also be notified by email.
- You can now review your submission. If you need to, select the Resubmit button in the bottom right corner of your screen below your submission. Then, repeat Steps 1-5 as many times as needed before the assignment due date. Your instructor or TA will only see your most recent submission when they grade the assignment. All your past submissions are in your Submission History.
All exams are the exclusive property of NetMath. Copies of these exams should only be made by the student for test taking purposes. The exams should not be shared with any other entity without our written consent.
We expect all students to maintain academic integrity and exam confidentiality throughout their NetMath course, including while taking online exams. Students are bound by the University of Illinois Student Code of Conduct. Academic infractions can result in a zero (0) on the exam with no retake. Further sanctions may be imposed, depending on the severity of the infraction(s).
Scanning your Assignment/Exam
Adobe Scan can be used for scanning your submissions.
The free Adobe Scan mobile app works on your mobile device, scans documents into PDFs, and automatically recognizes text.
A short video explaining how to use Adobe Scan.
You can also scan documents using flatbed scanning technologies.
UIUC VPN Software
Some University of Illinois software apps require using a VPN to access them. This is especially true for some of our foreign students. It is recommended to use the CISCO AnyConnect VPN that is available at no charge to students from the University WebStore. Click to download and use the UIUC CISCO AnyConnect VPN. Information for installing and using AnyConnect.
Resetting Your Moodle Password / Moodle Help
Learn how to change or reset your Moodle password.
Resetting your Campus netID password
Canvas Help and Information

Little lost? Try here first!
OTHER RESOURCES
- Ask Your Instructor a Question
Questions are submitted to your instructor please include your course number in your correspondence. - Submit a NetMath Help Request
Questions are submitted to NetMath Tech-Staff please include your course number in your correspondence. - Technology Services Help Desk
The Help Desk provides campus wide tech support to all Illinois students, faculty, and staff. - Technology Services Direct Support Request
Use this form to open a support case with the Help Desk about Canvas or any campus supported technology. - Illinois Canvas Resources for Students
Resources for Canvas Student information.